All Posts By

admin

Working Light bracket, best way to fit your LED light.

By MilSpec Vehicles Information No Comments

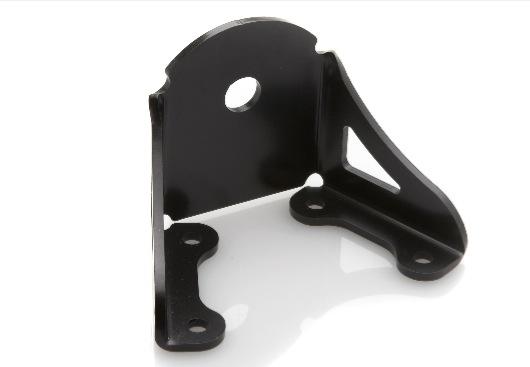
In this small video you can see why our working light bracket is the most efficient way to fit your LED light’s.

Normally, your LED light has restricted movement because it is fitted directly to the back panel with it’s own bracket. This only allows for an up or downward motion. If you would want the LED light to give some light more to the left or right it is not possible, unless you change the position of the whole light.

With this 3 mm aluminium working light bracket, you do not have this problem. It is powder coated in black to give it protection from the elements. It is fitted with 4 bolts to your Land Rover panel and then it is ready to receive the LED light. Different size LED lights can be fitted on this working light bracket. The benefit of this bracket is the freedom of motion you can experience with your LED light. Besides moving the LED light up and down, you can also move it almost 180° from left to right (depending on the size of the LED light).

Besides the Land Rovers, this working light bracket can also be fitted to other 4×4 cars, such as Jeeps.

For sale at MilSpec Vehicles
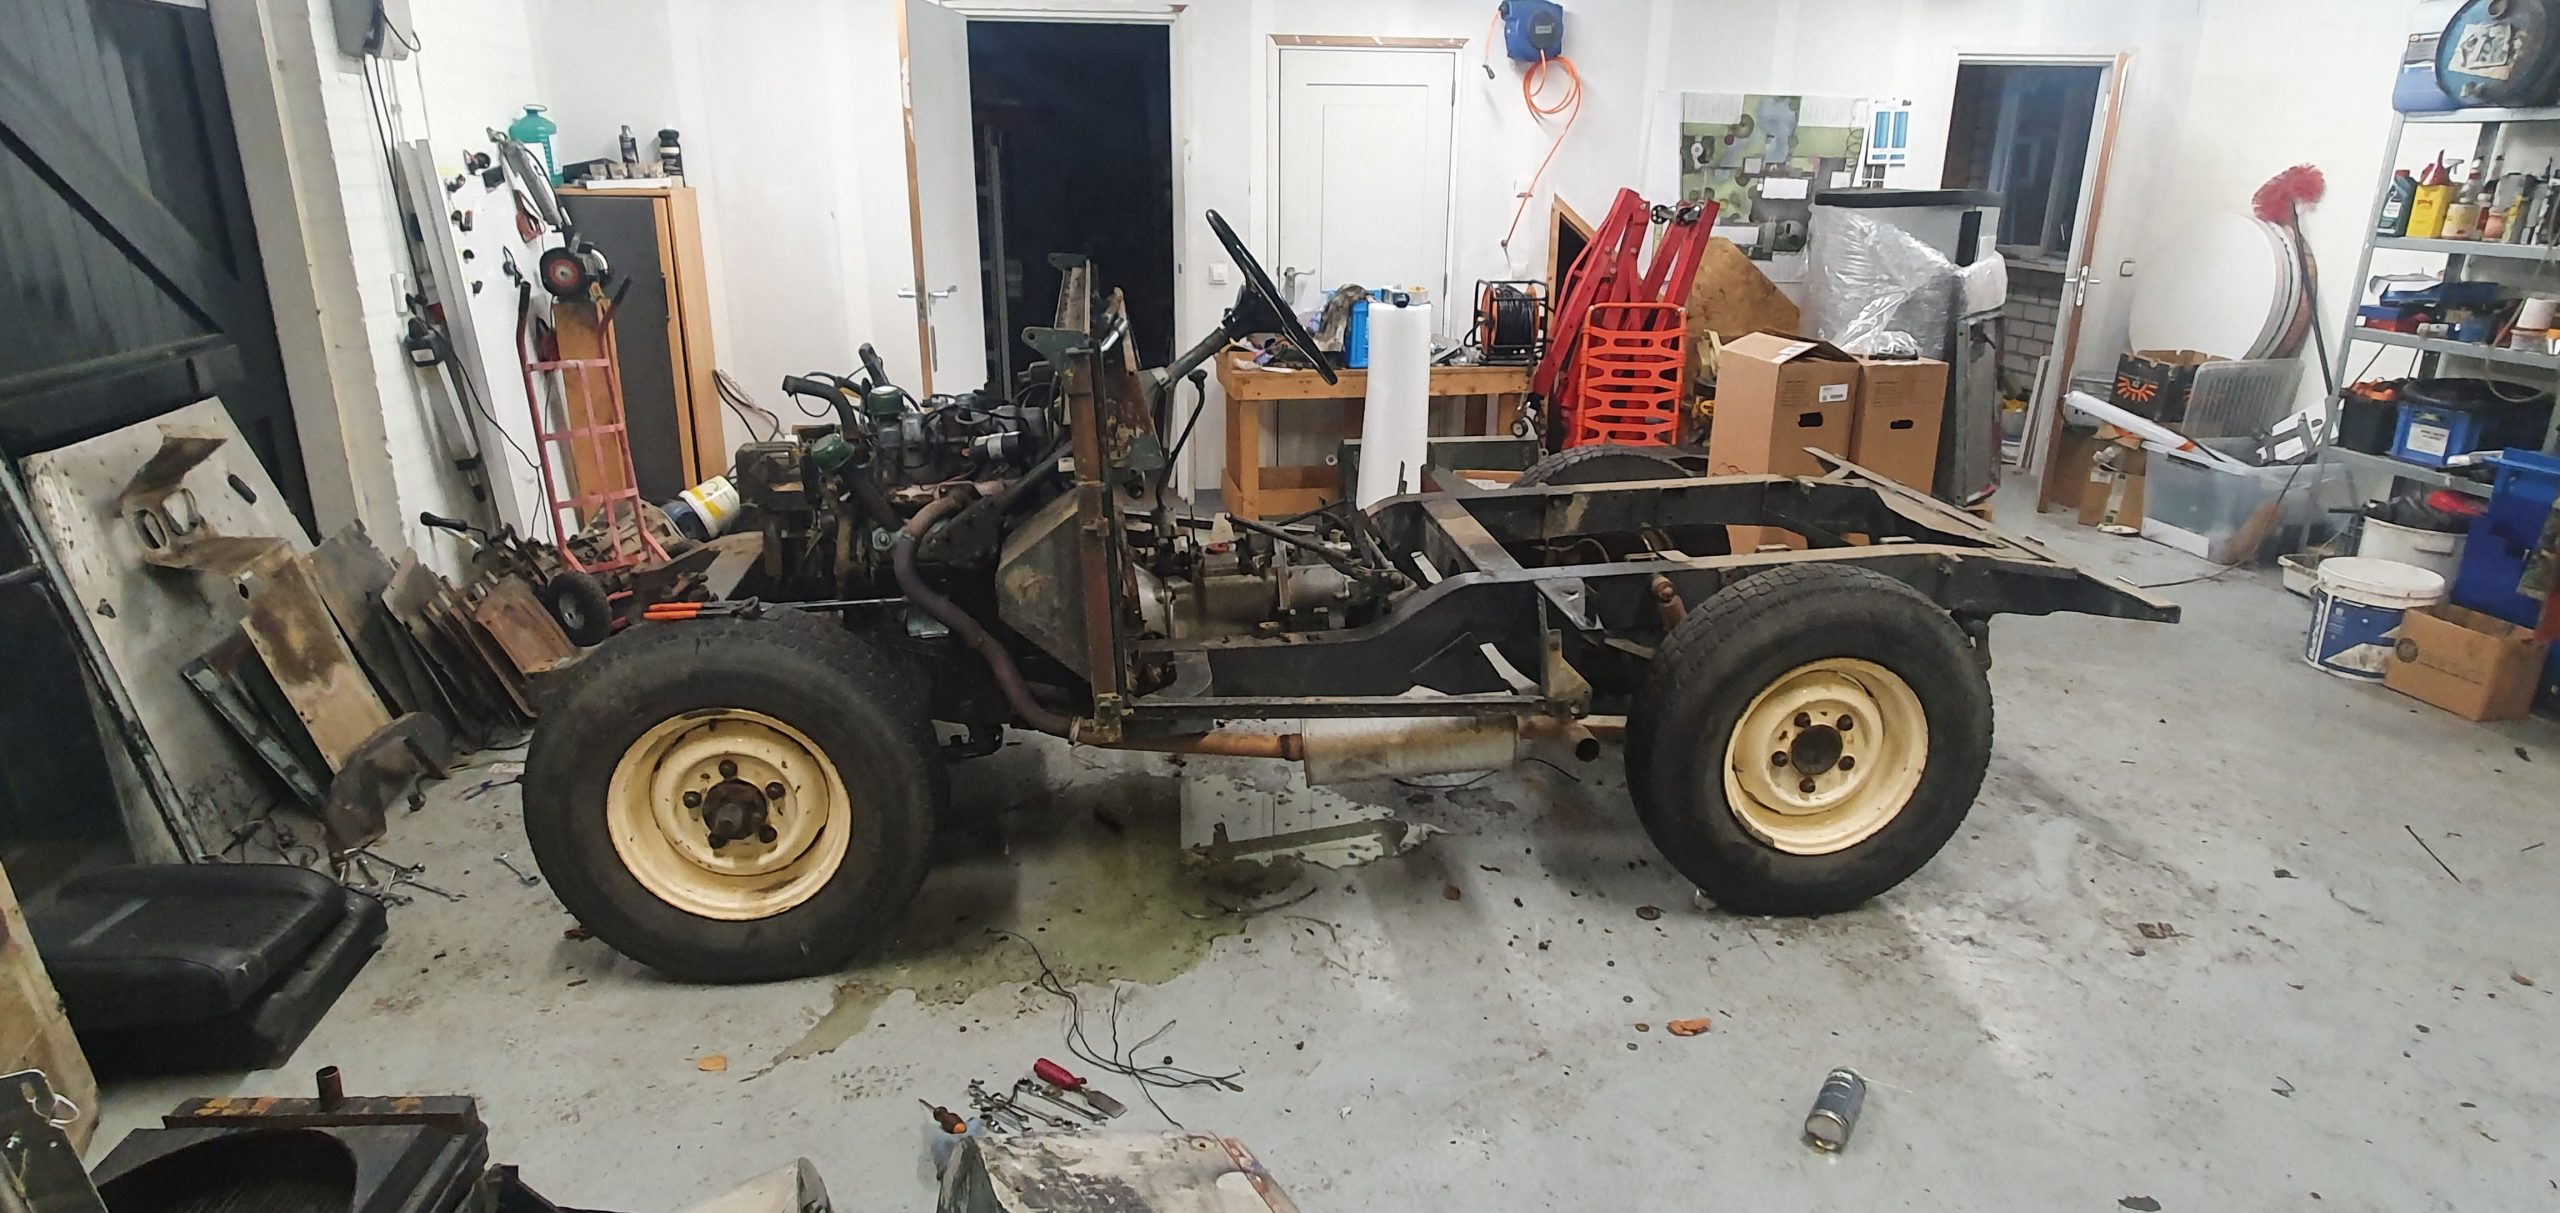
Painting the new chassis

By Geen onderdeel van een categorie, Rebuild Defender 90 @nl
IMAG1365

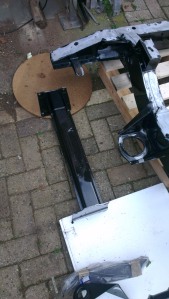
Chassis painted

IMAG1366

Underside still needs to be done

IMAG1367

Front underside of the chassis

After our vacation I started painting the new chassis. It took way longer than I expected it to take. With only one person and a small brush it took about 3 hours+ to paint it once, second coat was a bit faster, about 2 hours. But since we couldn’t put the chassis at such a height that it could be painted at once, I had to do the bottom part later. Took also about 1,5 hours, so now I’m done painting it.

So that’s finished, just the rear cross member will be sprayed in the final car color later on. Also painted some other minor stuff, just to work ahead.

IMAG1368

Crossmember got some paining as well


DSCN4346

Test Fitting

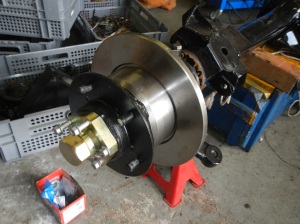
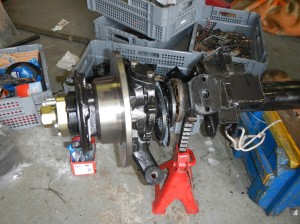
We also started preparing the axles so we can have a rolling chassis. Almost finished both sides of the hubs, swivel pin housings and disc brakes. Almost all parts are new or have been sand blasted. Also brought both differentials to Barten4x4 in Veghel. He did an excellent job refurbishing the old 10 splines diffs, so they can take a couple of miles again. Next couple of weeks will be rebuilding the axles so they are fully ready again, fit some springs (just for the meantime) and get our self a rolling chassis.

DSCN4345

test fitting

Painting the new chassis

By Rebuild Defender 90, Uncategorized
IMAG1365

Chassis painted

IMAG1366

Underside still needs to be done

IMAG1367

Front underside of the chassis

After our vacation I started painting the new chassis. It took way longer than I expected it to take. With only one person and a small brush it took about 3 hours+ to paint it once, second coat was a bit faster, about 2 hours. But since we couldn’t put the chassis at such a height that it could be painted at once, I had to do the bottom part later. Took also about 1,5 hours, so now I’m done painting it.

So that’s finished, just the rear cross member will be sprayed in the final car color later on. Also painted some other minor stuff, just to work ahead.

IMAG1368

Crossmember got some paining as well


DSCN4346

Test Fitting

We also started preparing the axles so we can have a rolling chassis. Almost finished both sides of the hubs, swivel pin housings and disc brakes. Almost all parts are new or have been sand blasted. Also brought both differentials to Barten4x4 in Veghel. He did an excellent job refurbishing the old 10 splines diffs, so they can take a couple of miles again. Next couple of weeks will be rebuilding the axles so they are fully ready again, fit some springs (just for the meantime) and get our self a rolling chassis.

DSCN4345

test fitting